Greetings, fellow crafters!
I am absolutely thrilled to be a member of Paper Curves UAE’s first Creative Team. In this post (My very first one!), I will be introducing the tools that are used in the art of Thai Clay flower making.
All the tools and supplies that I will be using are available in the ‘Thai Clay Flower Material’ section on Paper Curves UAE
Let’s begin!
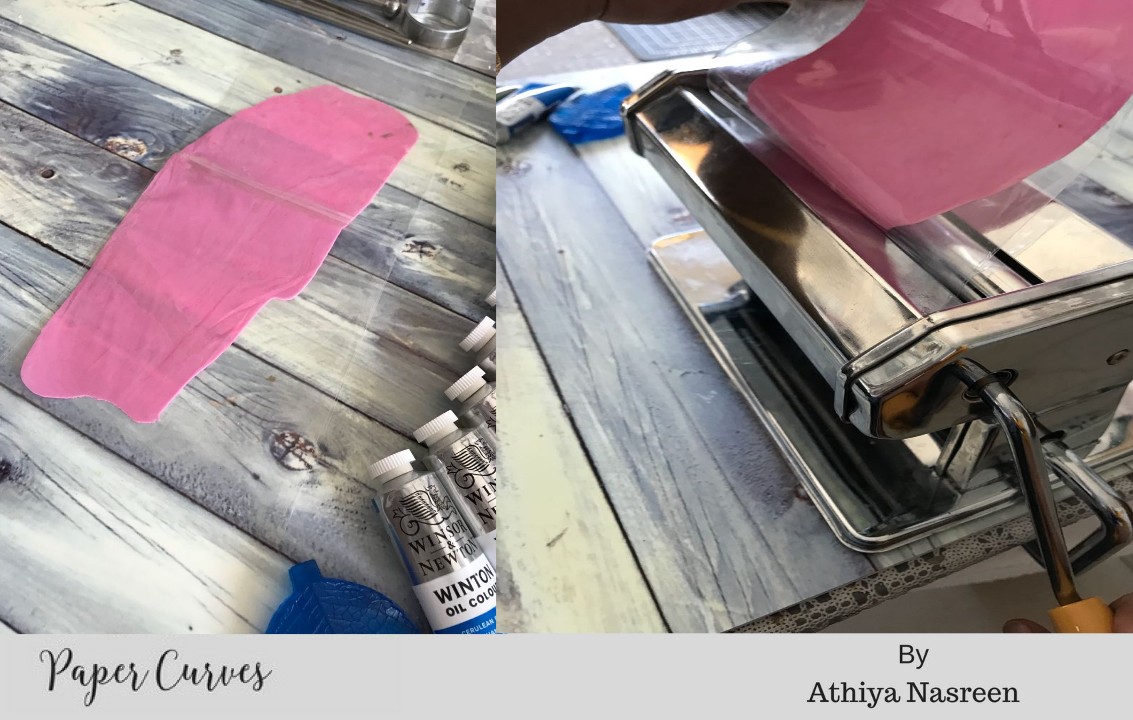
First, take a small amount of clay and mix with Winsor and Newton oil color (I used permanent rose here). Then, take a plastic sheet, grease with vaseline and flatten out the clay on the inside. Close the sheet and roll it through a pasta machine.
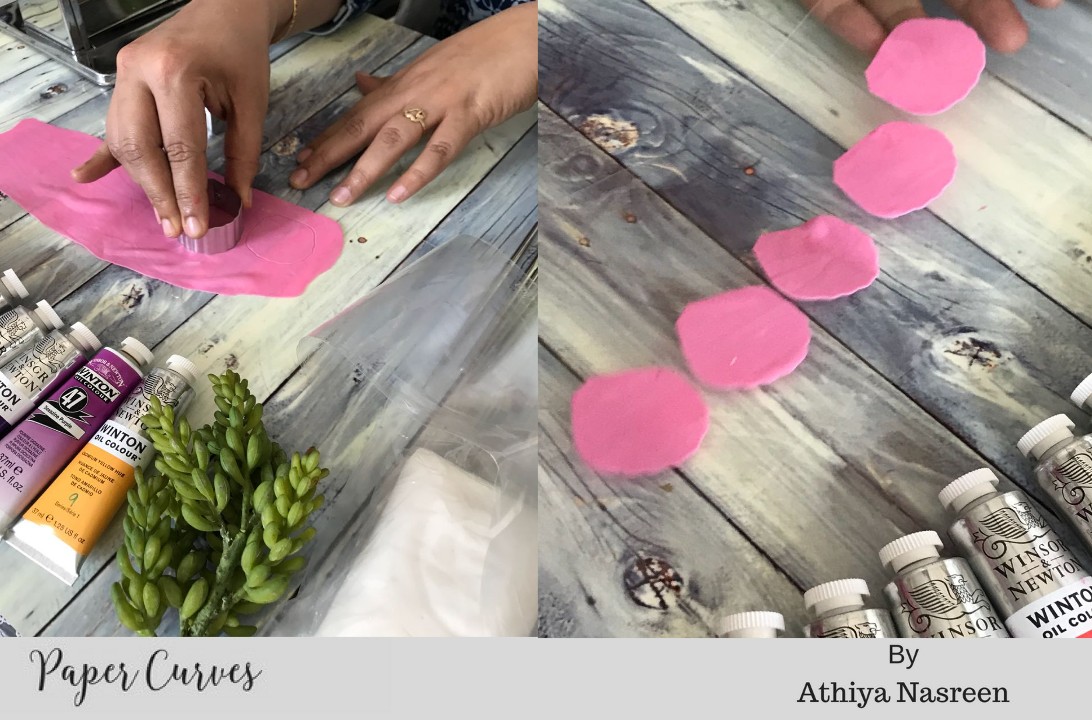
Open the sheet and press the cutter that you are using on the clay (I’ve used the rose cutter here), as many times as required. Take out the remaining clay and save it for later!
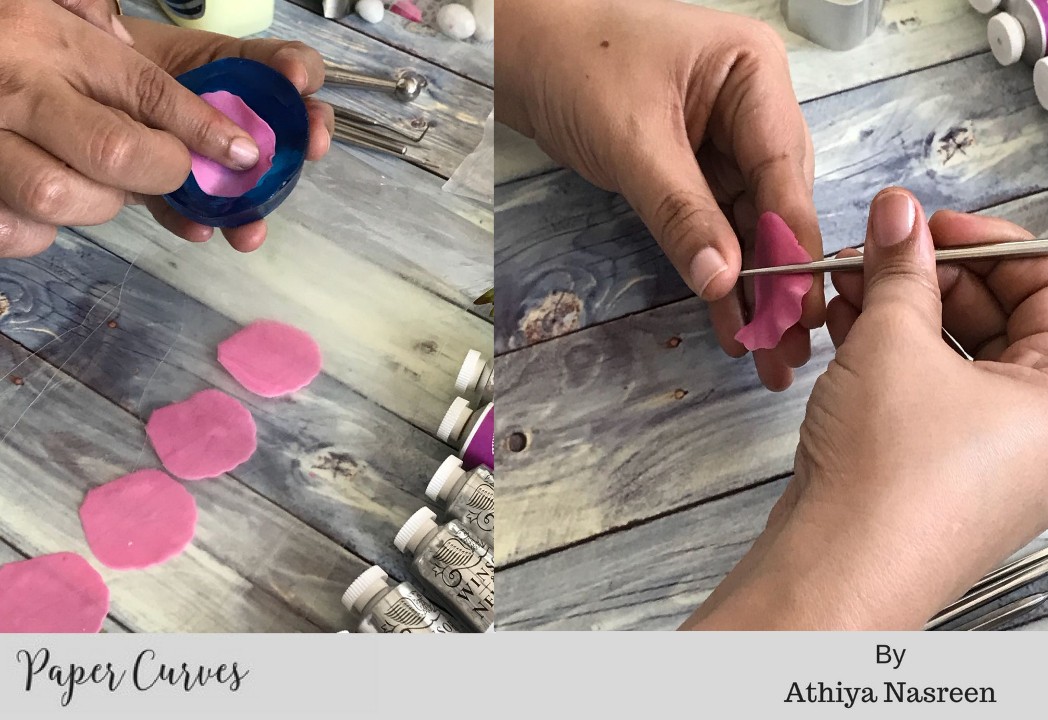
Grease the vein er (or mould) with vaseline and press your cutouts gently. You will get a beautiful impression of the flower’s veins. And then, frill the edges with a frilling tool.
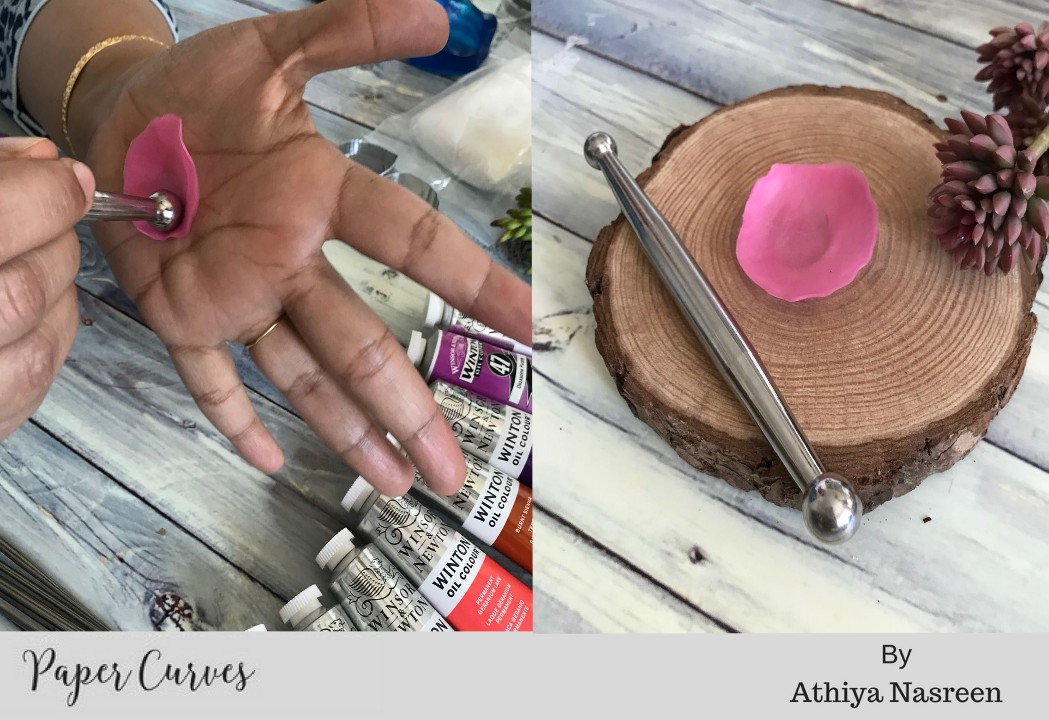
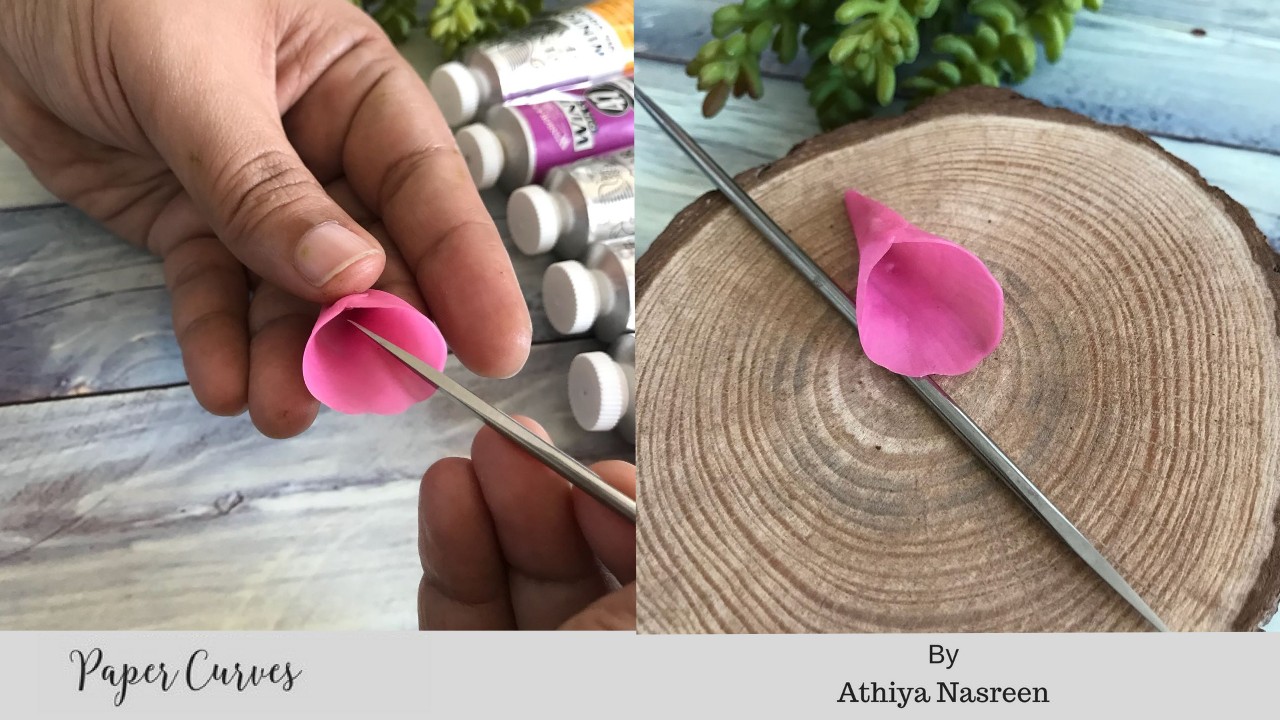
To give the petals a more realistic shape, use a ball tool and make a deep impression. Leave it to dry for a while.
Using the sharp and square tool, you can give fine, detailed lines in the center of the flower.
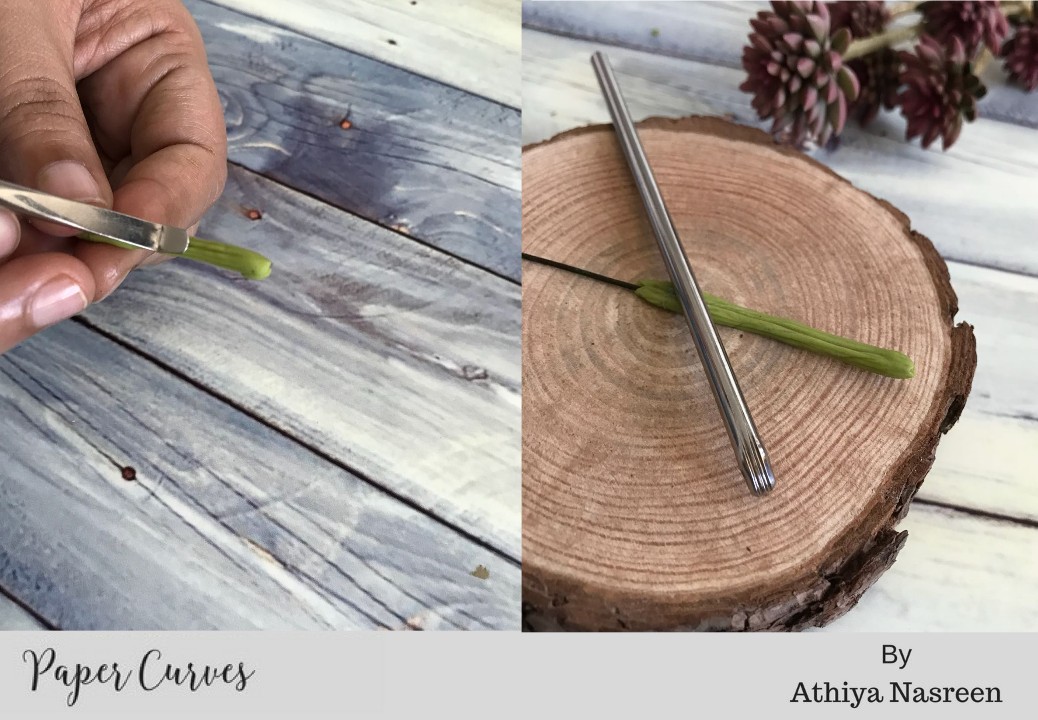
The veining tool is very useful for applying vein-like lines to smaller areas or on the stem.
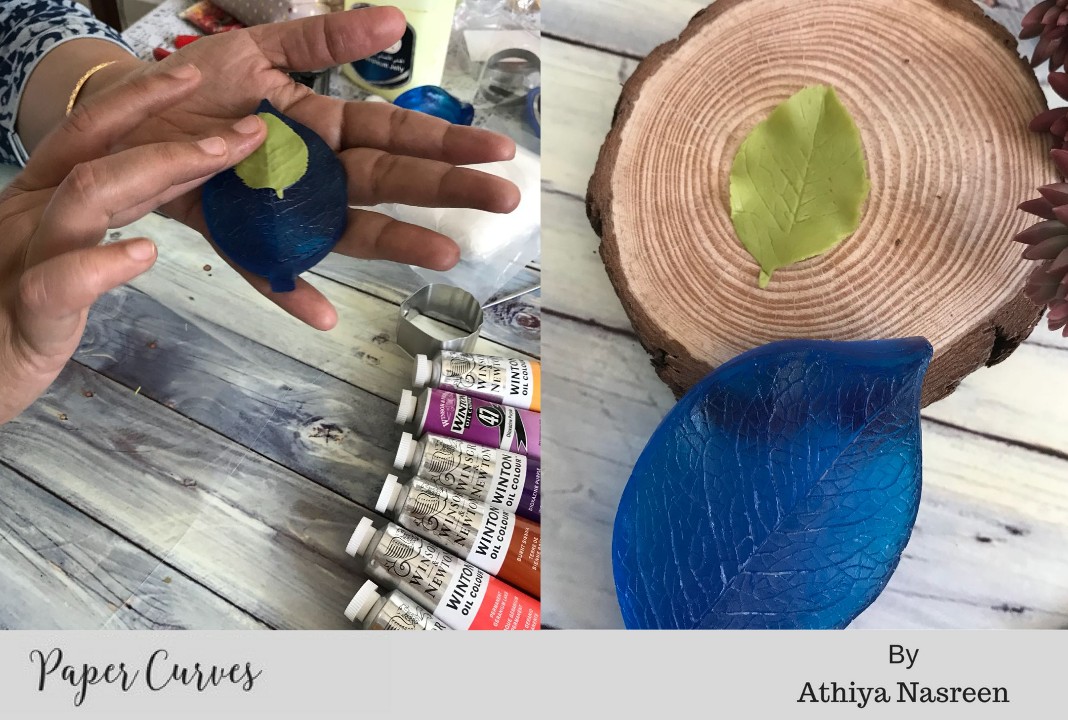
Just like the petals I made, make a few leaves using a leaf cutter and proceed to use a veiner (or mould) to give it veins.
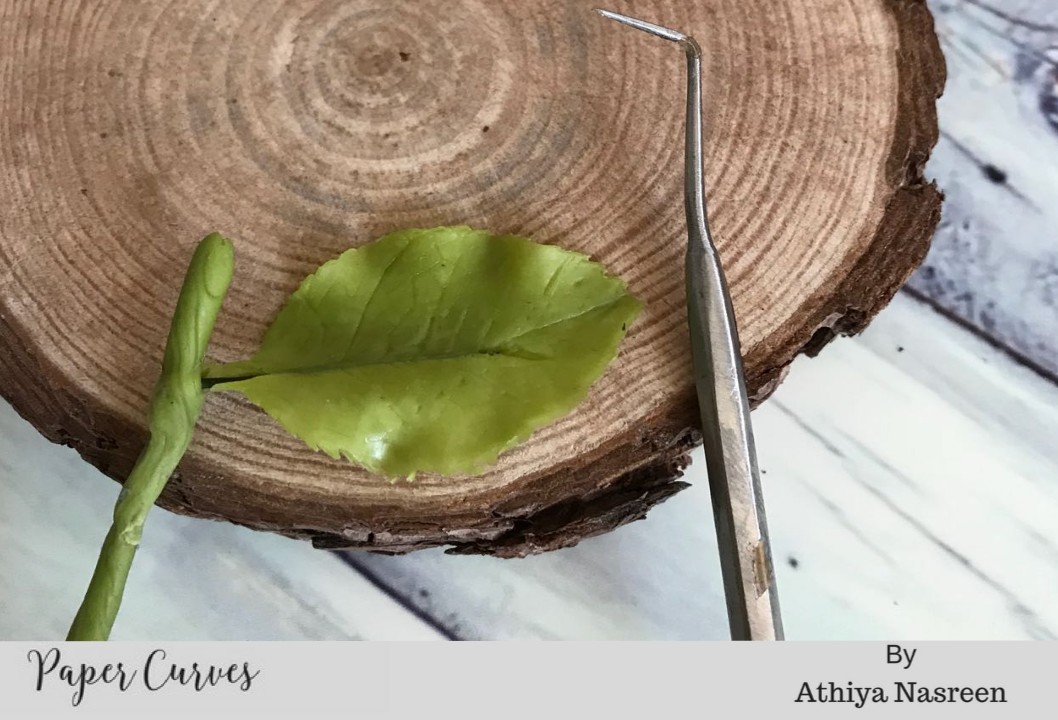
Attach the leaf to the stem using the gaff tool by poking the stem.
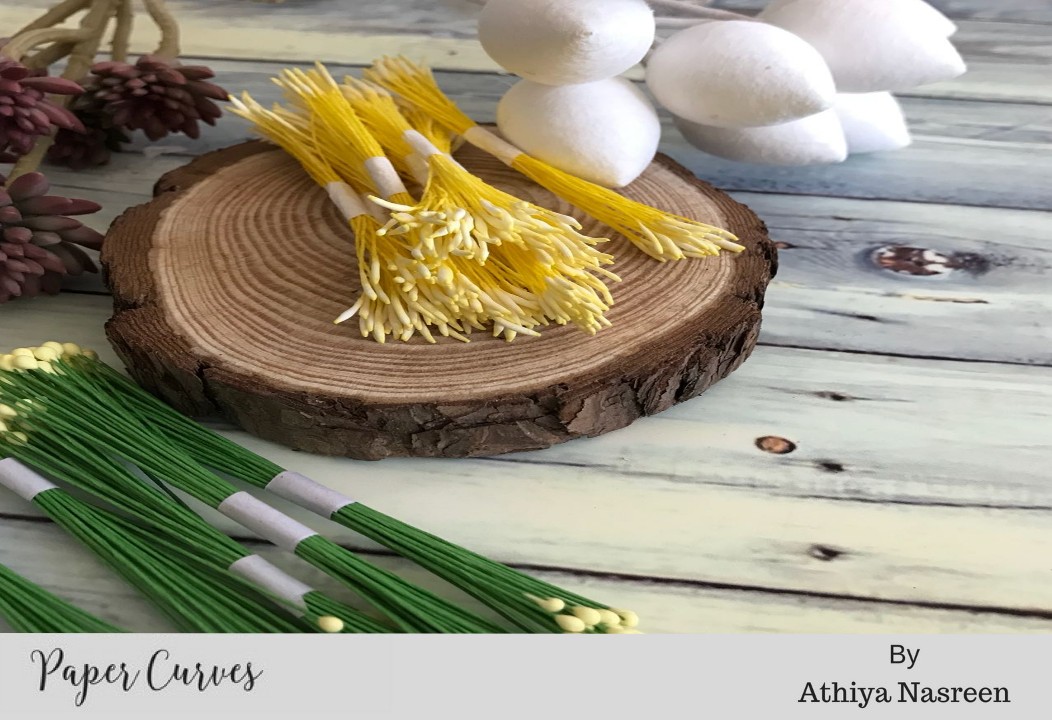
You can use these buds and pollen stems in the center of the flower.
I hope you’ve enjoyed reading the post and found it helpful. If you have any queries feel free to ask. Happy crafting!
Comments